

How Arculus® Works: Simple, Secure Storage & Transactions
Ready to learn how to set up your Arculus Cold Storage Wallet to make crypto transactions and store, purchase, and share NFTs? You’ll find everything you need here to create your account, make transactions, and connect to your favorite DeFi apps.
Have you purchased your Arculus wallet?
Have you purchased your Arculus wallet?
If you have already purchased your Arculus Cold Storage Wallet, visit the Getting Started page to learn how to properly set it up. Follow the simple steps provided to unlock the future of crypto security.
Helpful How To Videos
Unparalleled Convenience & Simplicity
Unparalleled Convenience & Simplicity
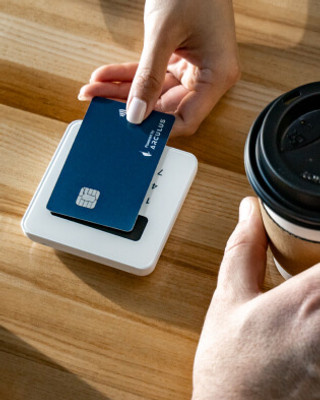
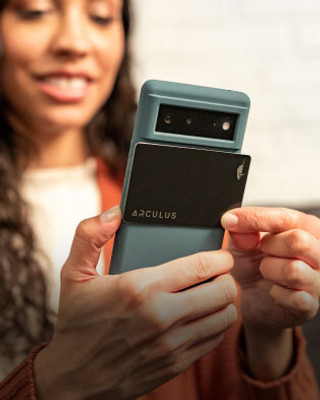
Arculus brings you a simple, easy-to-use, and ultra-secure way to keep your digital assets safe. With effortless tap-to-transact authentication and a seamless app experience, you can transact from anywhere securely, anytime. The Arculus Card and App allows you to buy, swap, send, and receive currencies. Watch the video or use the text below to learn more about how to make transactions with Arculus.

How to Make Transactions

In this video
-
1 How to Buy Crypto (Fiat to Crypto)
-

2 How to Swap Crypto for Crypto
-

3 How To Send Crypto Between Wallets
-

4 How To Receive Crypto With Your Arculus Wallet
-
5 How to Transfer an Existing Wallet
Chapter 1
How to Buy Crypto (Fiat to Crypto)
Chapter 2
How to Swap Crypto for Crypto
Chapter 3
How To Send Crypto Between Wallets
If applicable, you can also adjust the transaction speed to reduce fees by tapping on the gear icon.
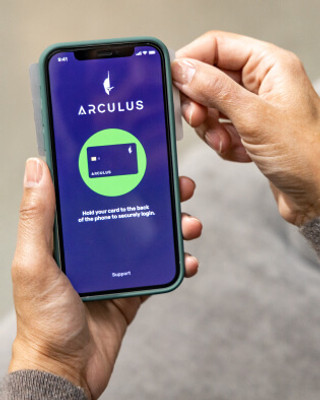
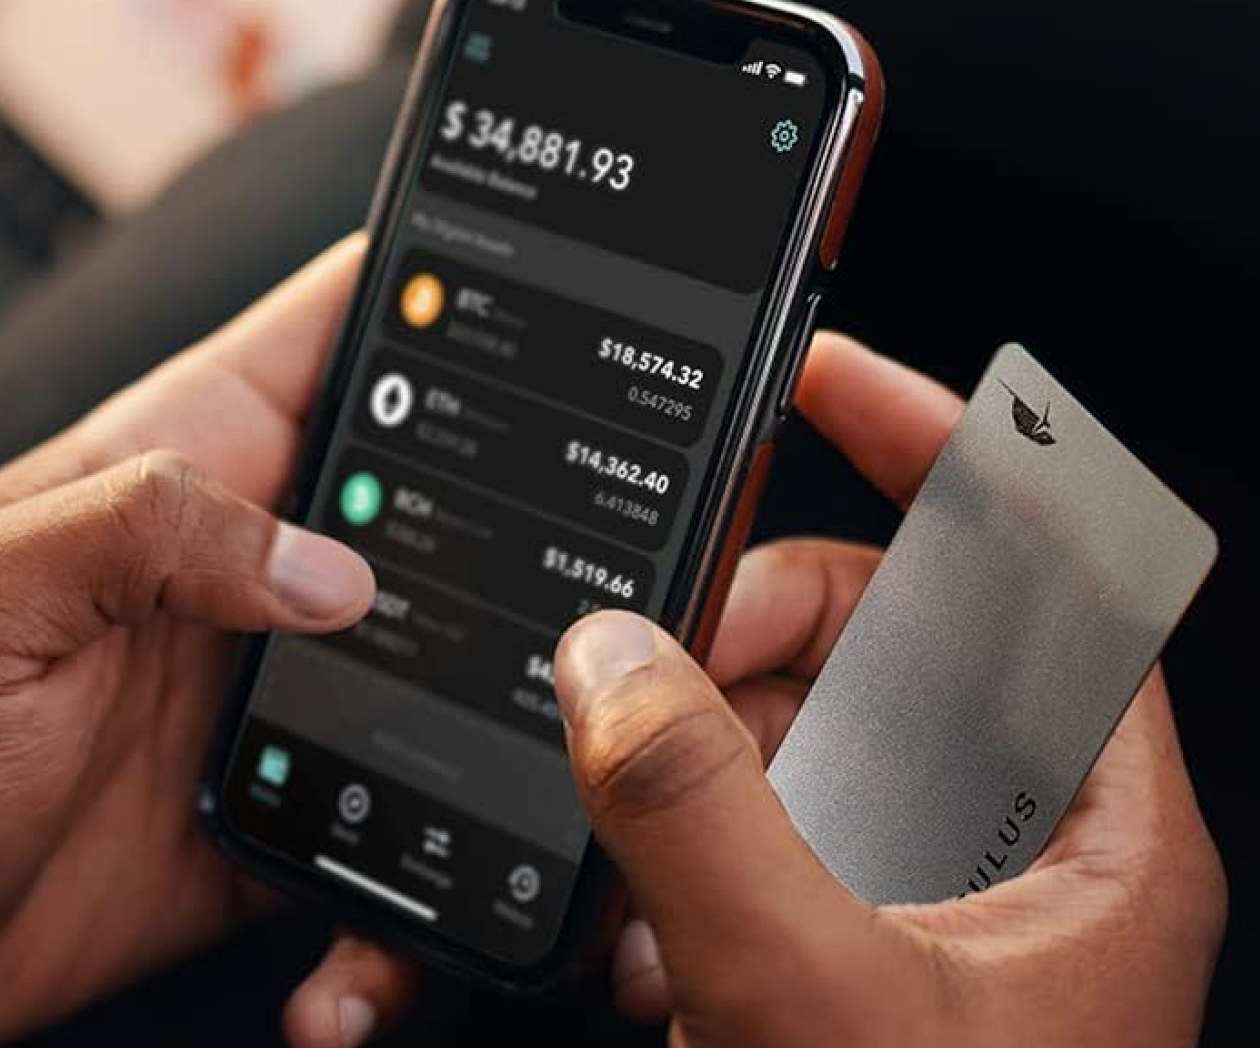
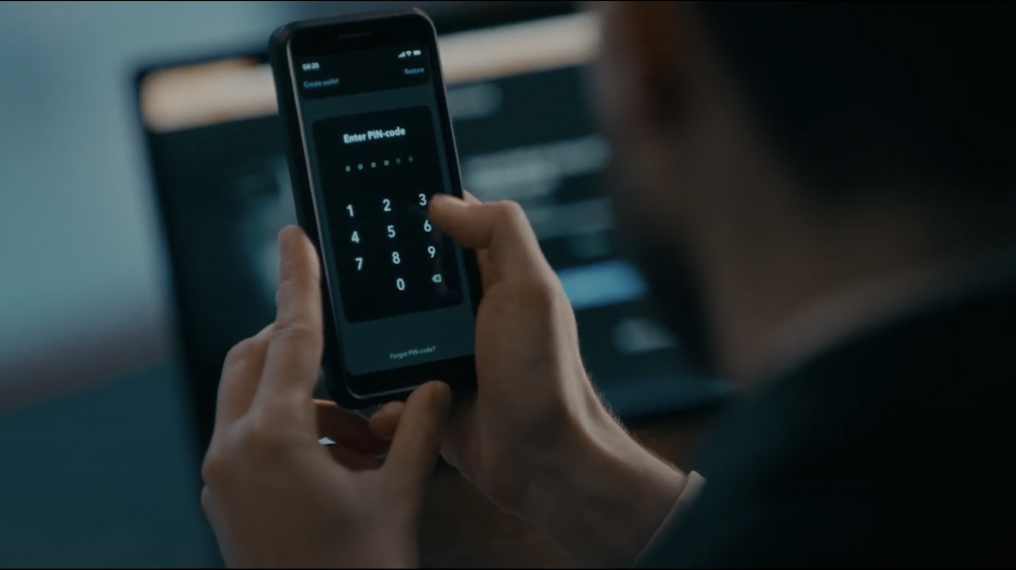
Now your Arculus App will ask for the 2nd factor of authentication — your PIN. Finally, the App will ask for your 3rd factor of authentication — your Card. Simply tap your card to the back of your phone, as prompted, to sign and send the transaction to the recipient.
Chapter 4
How To Receive Crypto With Your Arculus Wallet
Chapter 5
How to Transfer an Existing Wallet
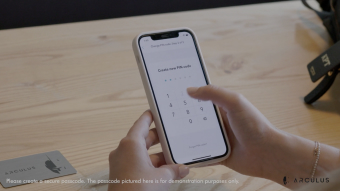
Tap ‘Restore’ on your Arculus App. You’ll be prompted to enter and confirm your 6-digit PIN. Next, you’ll be asked to enter your 12 or 24 word recovery phrase. Enter the recovery phrase from the existing wallet that you’d like to transfer. Your assets will soon be transferred to your new Arculus wallet.

To discover the coins and blockchains Arculus currently supports, visit our Coin & Blockchain Support page. Be sure to check back regularly as we update and add supported coins and blockchains.
View Supported Coins & BlockchainsArculus & Web3: NFTs & DeFi Apps
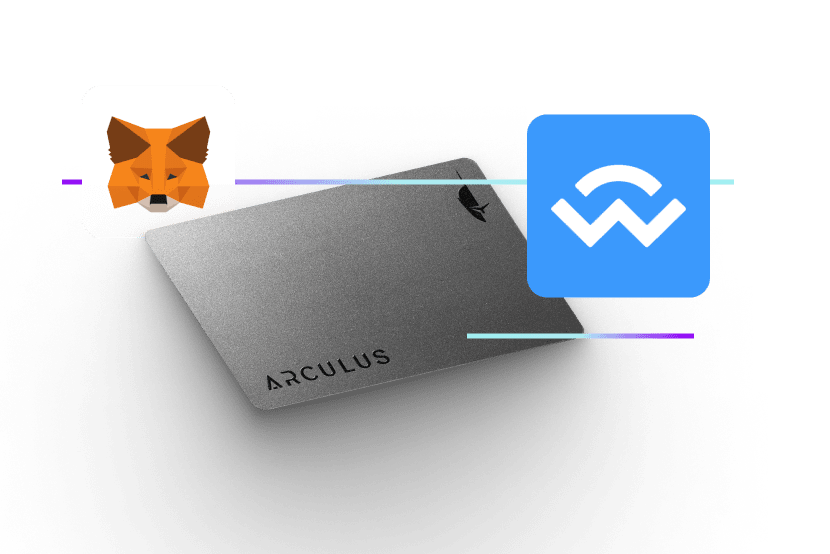
Arculus & Web3: NFTs & DeFi Apps
Arculus features NFT support, integrating WalletConnect to enable security of digital assets across the $44 billion NFT market and broader DeFi community. Watch the videos below to learn more about how to store your NFTs and connect to DeFi apps with Arculus.
How to Store NFTs & Connect to DeFi Apps
In this video
-

1 How to Connect WalletConnect
-
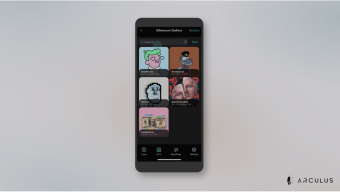
2 How to View Your NFTs
-

3 How to See Details of Your NFT
-

4 How to Send NFTs
-

5 How to Receive NFTs
-

6 How to Share NFTs
Chapter 1
How to Connect WalletConnect
Tap the QR icon in the upper right of your Arculus App and scan the QR code provided by the platform. On Android devices, you have the option to scan the QR code or copy and paste the address. Your phone will prompt you to confirm if you want to connect the marketplace to your Arculus Wallet. Tap ‘Connect’.
Chapter 2
How to View Your NFTs
Chapter 3
How to See Details of Your NFT
Chapter 4
How to Send NFTs
Chapter 5
How to Receive NFTs
Chapter 6
How to Share NFTs
Get Coin & Blockchain Support Updates
Enter your email for the latest coin support updates.